Happy Monday!
Since Mondays are a bit drab around here, I thought I'd blow some life and fun into mine by posting some of the random things I choose to
waste my time on make.
Here's a little something about me you might not know.
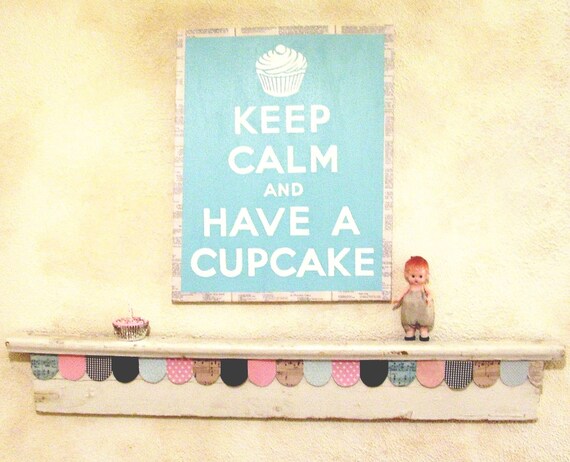
I loooooooooove cupcakes.There. I said it.
I know what you're thinking, but I don't love them the way most people do. I mean
sure. I like to eat the occasional cupcake. (I'd rather have a big ole' piping hot bag of McDonald's french fries, but if that's not an option, mmm hmmm...I'll take a cupcake.)
I guess you could say I'm infatuated with cupcake
images and paraphernalia.

If it's got a cupcake on it, I'm probably going to have a second look and even buy it, if possible. If it has anything to do with cupcakes, it's probably going to be mine. I just can't help it.

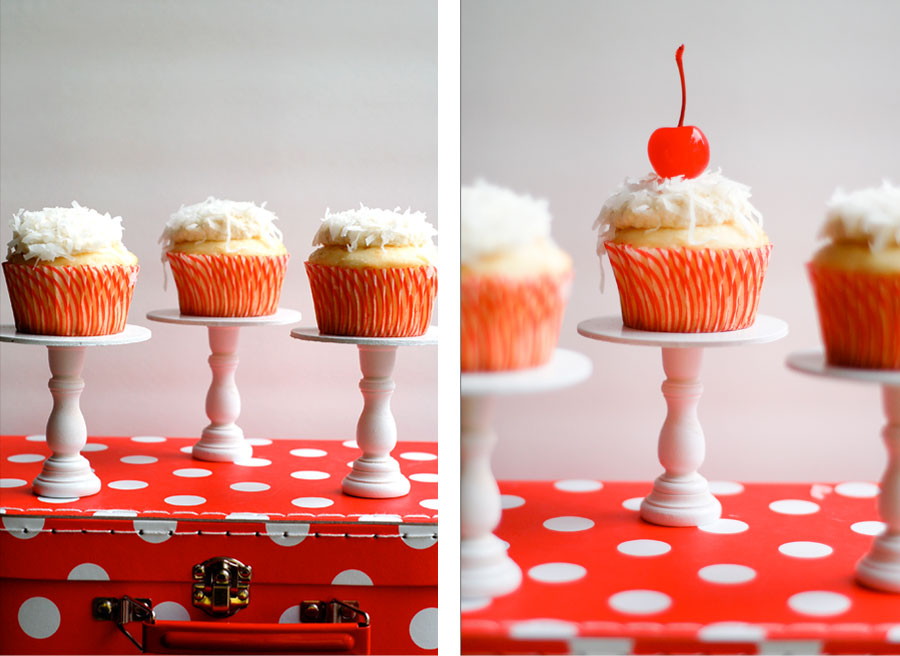
So, when I saw these on
Modern Moments, I knew I had to have some!

I followed
her instructions and here's how it went down.
(First things first: Yes! My hands are really wrinkled (thanks for noticing). Yes! They've always been that way. YES! I've tried lotion - once or twelve times per day, EVERY DAY for 34 years. So, thanks for asking. You'd be surprised how many times my hands become the focus of conversations. Honestly, I'm just happy to have hands that work and create and give love. Moving on.)
I gathered my supplies. I picked up the round circle disks from Hobby Lobby and I ordered the candle sticks from
The New Image Group. I couldn't find them around here, so I ordered them online.

I almost cracked these babies open without snapping a picture first. Oh, the horror!


I won't lie. The wood pieces are cheap. I'm okay with cheap. Actually, I LOVE cheap. But, cheap usually has a cost and the cost here was lots and Lots and LOTS of sanding. They were really rough and pretty jagged around the edges. See.

But, nothing a little sand paper and muscle couldn't take care of. (Did I just say "muscle?" Ha! That's funny. Especially coming from me. I think we all know the "muscle" required here is pretty minimum...this is
MY blog, remember?)


Anyway, once I had them sanded down, I painted them with white acrylic paint and a foam brush. (Hiiiiiiii, Mr. Turkey! Isn't he cute??)


I painted the pieces with two coats of paint and then had to sand them all again. I told you: Cheap has a cost.
Once they were dry and sanded (and sanded again and then painted again - twice), they were ready to be glued together. Whew!
Lucky me! I have a hubs who can fix anything. He just happened to have this wood glue that I used.

Once glued, I added some weight to the top and let them dry. (Use whatever you have. I was working at my kitchen counter, so all of our medicine bottles became weights.)

I let them dry overnight, but a few hours is probably good enough.
Once they were ready for use, I baked up some pretty cupcakes and we were ready for action!

I didn't have a really cute red and white polka dot suitcase to use as a prop like
she did, but I did have a cute little cherry!

So, thats it! Hope you are inspired to make some mini cupcake stands of your own! If you do, come back and link me up, so I can leave you some love!
Hugs everybody!
Keep Calm and Have a Cupcake Print from
jennysbakeshop.
Keep Calm and Have a Cupcake Journal from
Peter Pauper Press.